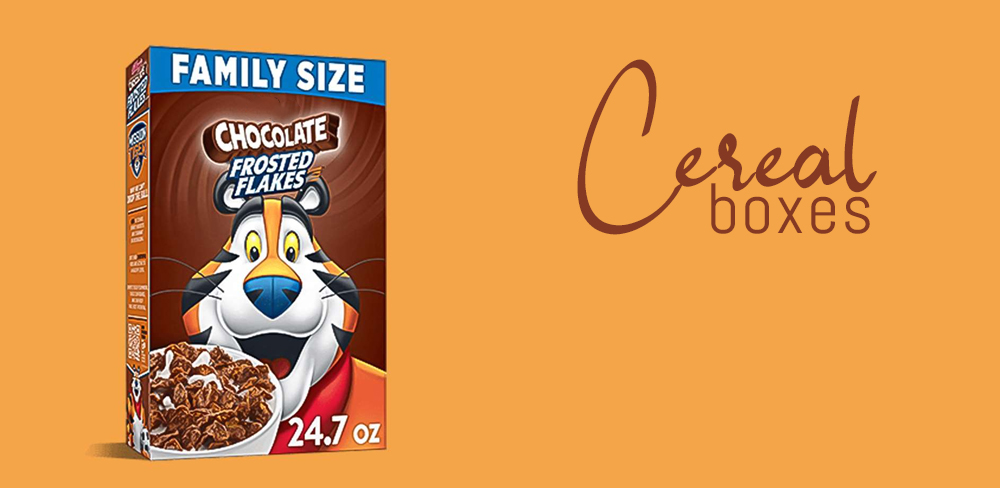
Recycling the cereal box packaging is a good idea, but upcycling them to create several interesting projects is even more amazing. Cereals are one of the popular breakfast items. They are the best way to make a healthy start to your day. Kids feel highly energetic on having a bowl of cereals on their breakfast table every morning. But that all ends in another empty cereal box thrown into the recycling bin. Due to the increased demand for the product, we can estimate that almost every American family throws away one or two cereal boxes every week! This makes a large amount indeed. Have you ever thought of making something interesting with this empty cereal packaging? If you scroll the internet or think creatively you can create several attractive little projects from it. Here we are going to make a DIY gift box from a cereal box. Cardboard upcycling is a great way to reduce trash, go green, and ultimately create something more useful.
Cereal Box Upcycling Supplies:
You need some of the basic supplies for this cereal box project. You might be having a lot of them with you so no need to purchase them for the market.
They include:
- An empty cereal box
- Few different types of washi tapes
- Scissors
- Tissue wrap for stuffing in the box before putting the gift inside
- Packing tape or any regular tape
- Ribbons, beads, colors, and other embellishments for decoration
STEP 1: Choose The Box
The first thing is to choose the cereal box which you want to turn into a gift box. You can choose any size of your choice depending upon the requirement. For example, if you want to make a large-sized gift packaging, choose the larger cereal box, probably the jumbo size! However, for a small gift packaging, go for any small or medium-sized box depending upon your availability. Smaller boxes are quite handy to craft with.
STEP 2: Cut Off The Flaps
The next step is to remove the top flaps of the box. Cut its back panel as shown in the figure. Then cut along the corners of the box using sharp scissors. Never forget to throw your cardboard scraps for recycling, as it’s the item easiest to recycle.
STEP 3: Remove The Side Panels
Then, remove the side panels. Leave both sides about one to two inches higher than the back panel you just cut in the previous step. Ensure that you cut it to where the front panel is. These side pieces are to be folded down, taping them to the inside of the box to get an attractive, cleaner look.
STEP 4: Fold Down The Side Pieces
Fold the side pieces of your cereal box downwards and tape them inside the box. Also, fold down the back panel and make a crease where it folds over. You may also have to fold the backside backward and press firmly with your fingers or scissors to make give it a tight fold. Use a good quality packing tape inside the box to give it a better hold.
STEP 5: Fold The Box From The Top
It is an important step as the entire look of your gift box depends on it. Fold the box carefully from the top as shown in the figure. Mark with a pencil from where you need to fold the box again to create a crease. This flap will fold the back inside the box to close the lid. Once you have marked it, this makes it easy for you to fold and make a crease.
STEP 6: Slide The Lid Into The Box
For sliding the lid into the box, you need to make it a little narrower than the base of the cereal box. Use a cutter or a pair of scissors to cut just a small portion of the box away from the edge of the lid. It should be snug but not so tight that it won’t slide inside the box. Once you have done with the shape of your DIY gift box, tuck the lid into the base. This is what the final gift box will look like. Place your gifts inside by using a tissue wrap to give a more elegant display.
Step 7: Decoration
When it comes to decorating your gift box, you have an array of options to choose from. A simple and attractive way is to create a washi tape pattern. For this, you have to gather different designs of washi tape. Stick them one after the other to cover the entire box. It is affordable, eye-catchy, and perfect enough to delight the receiver. You can also create such a pattern by using duct tape, but it is not easy to handle. Washi tapes are available in a variety of colors and styles. They are easy to peel off if you make the rows uneven mistakenly. You may also use it inside to create a beautiful interior. In addition to washi tape, use colors, paints, beads, ribbons, bows, and other embellishments for decoration.
Interesting Facts About Cereal Boxes:
All of us know that cereals are one of the favorite food items worldwide. But a few among us know interesting facts about its packaging. A cereal box passes through several stages before getting into the final form. First of all, all the waste paper products including the empty cereal boxes (that you dispose of in the recycling bin) are collected by authorities. They are sent to a recycling plant where the packaging is broken down, pulped, de-inked, and cleaned to remove various contaminants. The pulp is then dried and pressed into bales to make several roles of recycled paperboard. It is converted to a cereal box using a template and sent for printing. Different brands use this packaging to enclose and seal their cereal products to retain their quality for a long. The customers buy them from the market, consume the product, and dispose of them in the recycling bin. And the process keeps on going! However, repurposing them to create something purposeful like gift boxes can increase their useful life.


